RV travel offers a unique sense of freedom, but maintaining the systems that support your comfort on the road—especially the plumbing—can be challenging if you’re not prepared. The RV plumbing system is essential for everything from cooking and cleaning to showering and using the restroom. Whether you’re a weekend traveler or a full-time RVer, proper care of your plumbing system ensures a smooth, hassle-free journey.
Here are five expert tips to help you maintain your RV’s plumbing system and avoid costly repairs down the road
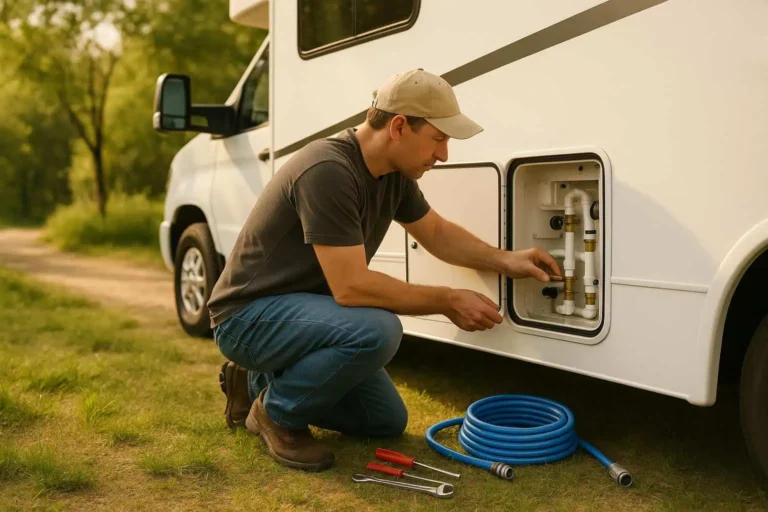
1. Regularly Check for Leaks
One of the most common and overlooked issues in RV plumbing systems is undetected leaks. A small drip can quickly escalate into water damage, mold, or costly repair bills if ignored.
What to do:
Conduct routine inspections under sinks, around the toilet, and near water lines. Use your hands to feel for moisture and look for water stains or swelling in walls and cabinetry. If you detect a leak, repair it immediately using RV-specific sealants or by replacing worn-out parts.
Pro Tip: Turn off the water pump and see if it cycles on its own—if it does, there’s likely a slow leak in your system.
2. Keep Your Water Tanks Clean
Your RV typically has three tanks: fresh water, grey water (sinks/showers), and black water (toilet waste). Regular cleaning of these tanks is crucial for hygiene and to avoid foul smells or plumbing clogs.
What to do:
- Fresh water tank: Sanitize it every few months using a diluted bleach solution (1/4 cup of bleach per 15 gallons of water). Let it sit for 8–12 hours, then flush thoroughly.
- Grey and black tanks: Use enzyme-based tank treatments to break down waste and reduce odor. Flush these tanks regularly at dump stations.
Pro Tip: Always dump the black tank before the grey tank. This helps flush out any remaining waste from the hose using grey water.
3. Use RV-Safe Toilet Paper and Water-Conscious Habits
RV plumbing isn’t as robust as a traditional home’s system, which means what goes down the drain really matters.
What to do:
Only use RV-safe toilet paper that dissolves quickly to prevent clogs. Avoid flushing anything other than human waste and approved tissue. Additionally, conserve water during showers and dishwashing to prevent overloading the grey tank.
Pro Tip: Consider using a water flow restrictor on your shower head and faucets to reduce water usage and ease the strain on your plumbing system.
4. Protect Your Plumbing in Cold Weather
Freezing temperatures can cause water lines to burst, leading to expensive repairs. If you plan to camp in winter or leave your RV stored in cold climates, winterizing your plumbing system is essential.
What to do:
Drain all water tanks, lines, and the water heater. Then, use RV antifreeze (non-toxic, pink-colored) to protect the system. Pump it through all water lines, including sinks, showers, and toilets. Don’t forget the outdoor shower if your RV has one.
Pro Tip: Use foam insulation or heat tape on exposed pipes for added freeze protection when traveling in cold regions.
5. Monitor Water Pressure and Install a Regulator
High water pressure from campground hookups can damage your RV’s plumbing system. Most RV pipes and fittings are not designed to handle extreme pressure.
What to do:
Use a water pressure regulator every time you hook up to an external water source. This simple device can prevent burst pipes, leaks, and water heater damage.
Pro Tip: Choose an adjustable regulator with a pressure gauge so you can set and monitor safe pressure levels (typically 40–60 PSI for RVs).
Final Thoughts
Maintaining your RV plumbing system doesn’t have to be intimidating. With routine inspections, cleaning, and smart preventive measures, you can keep everything flowing smoothly. Investing a little time and effort into proper plumbing care can save you from bigger headaches and keep your road adventures stress-free.